Bohemian swing

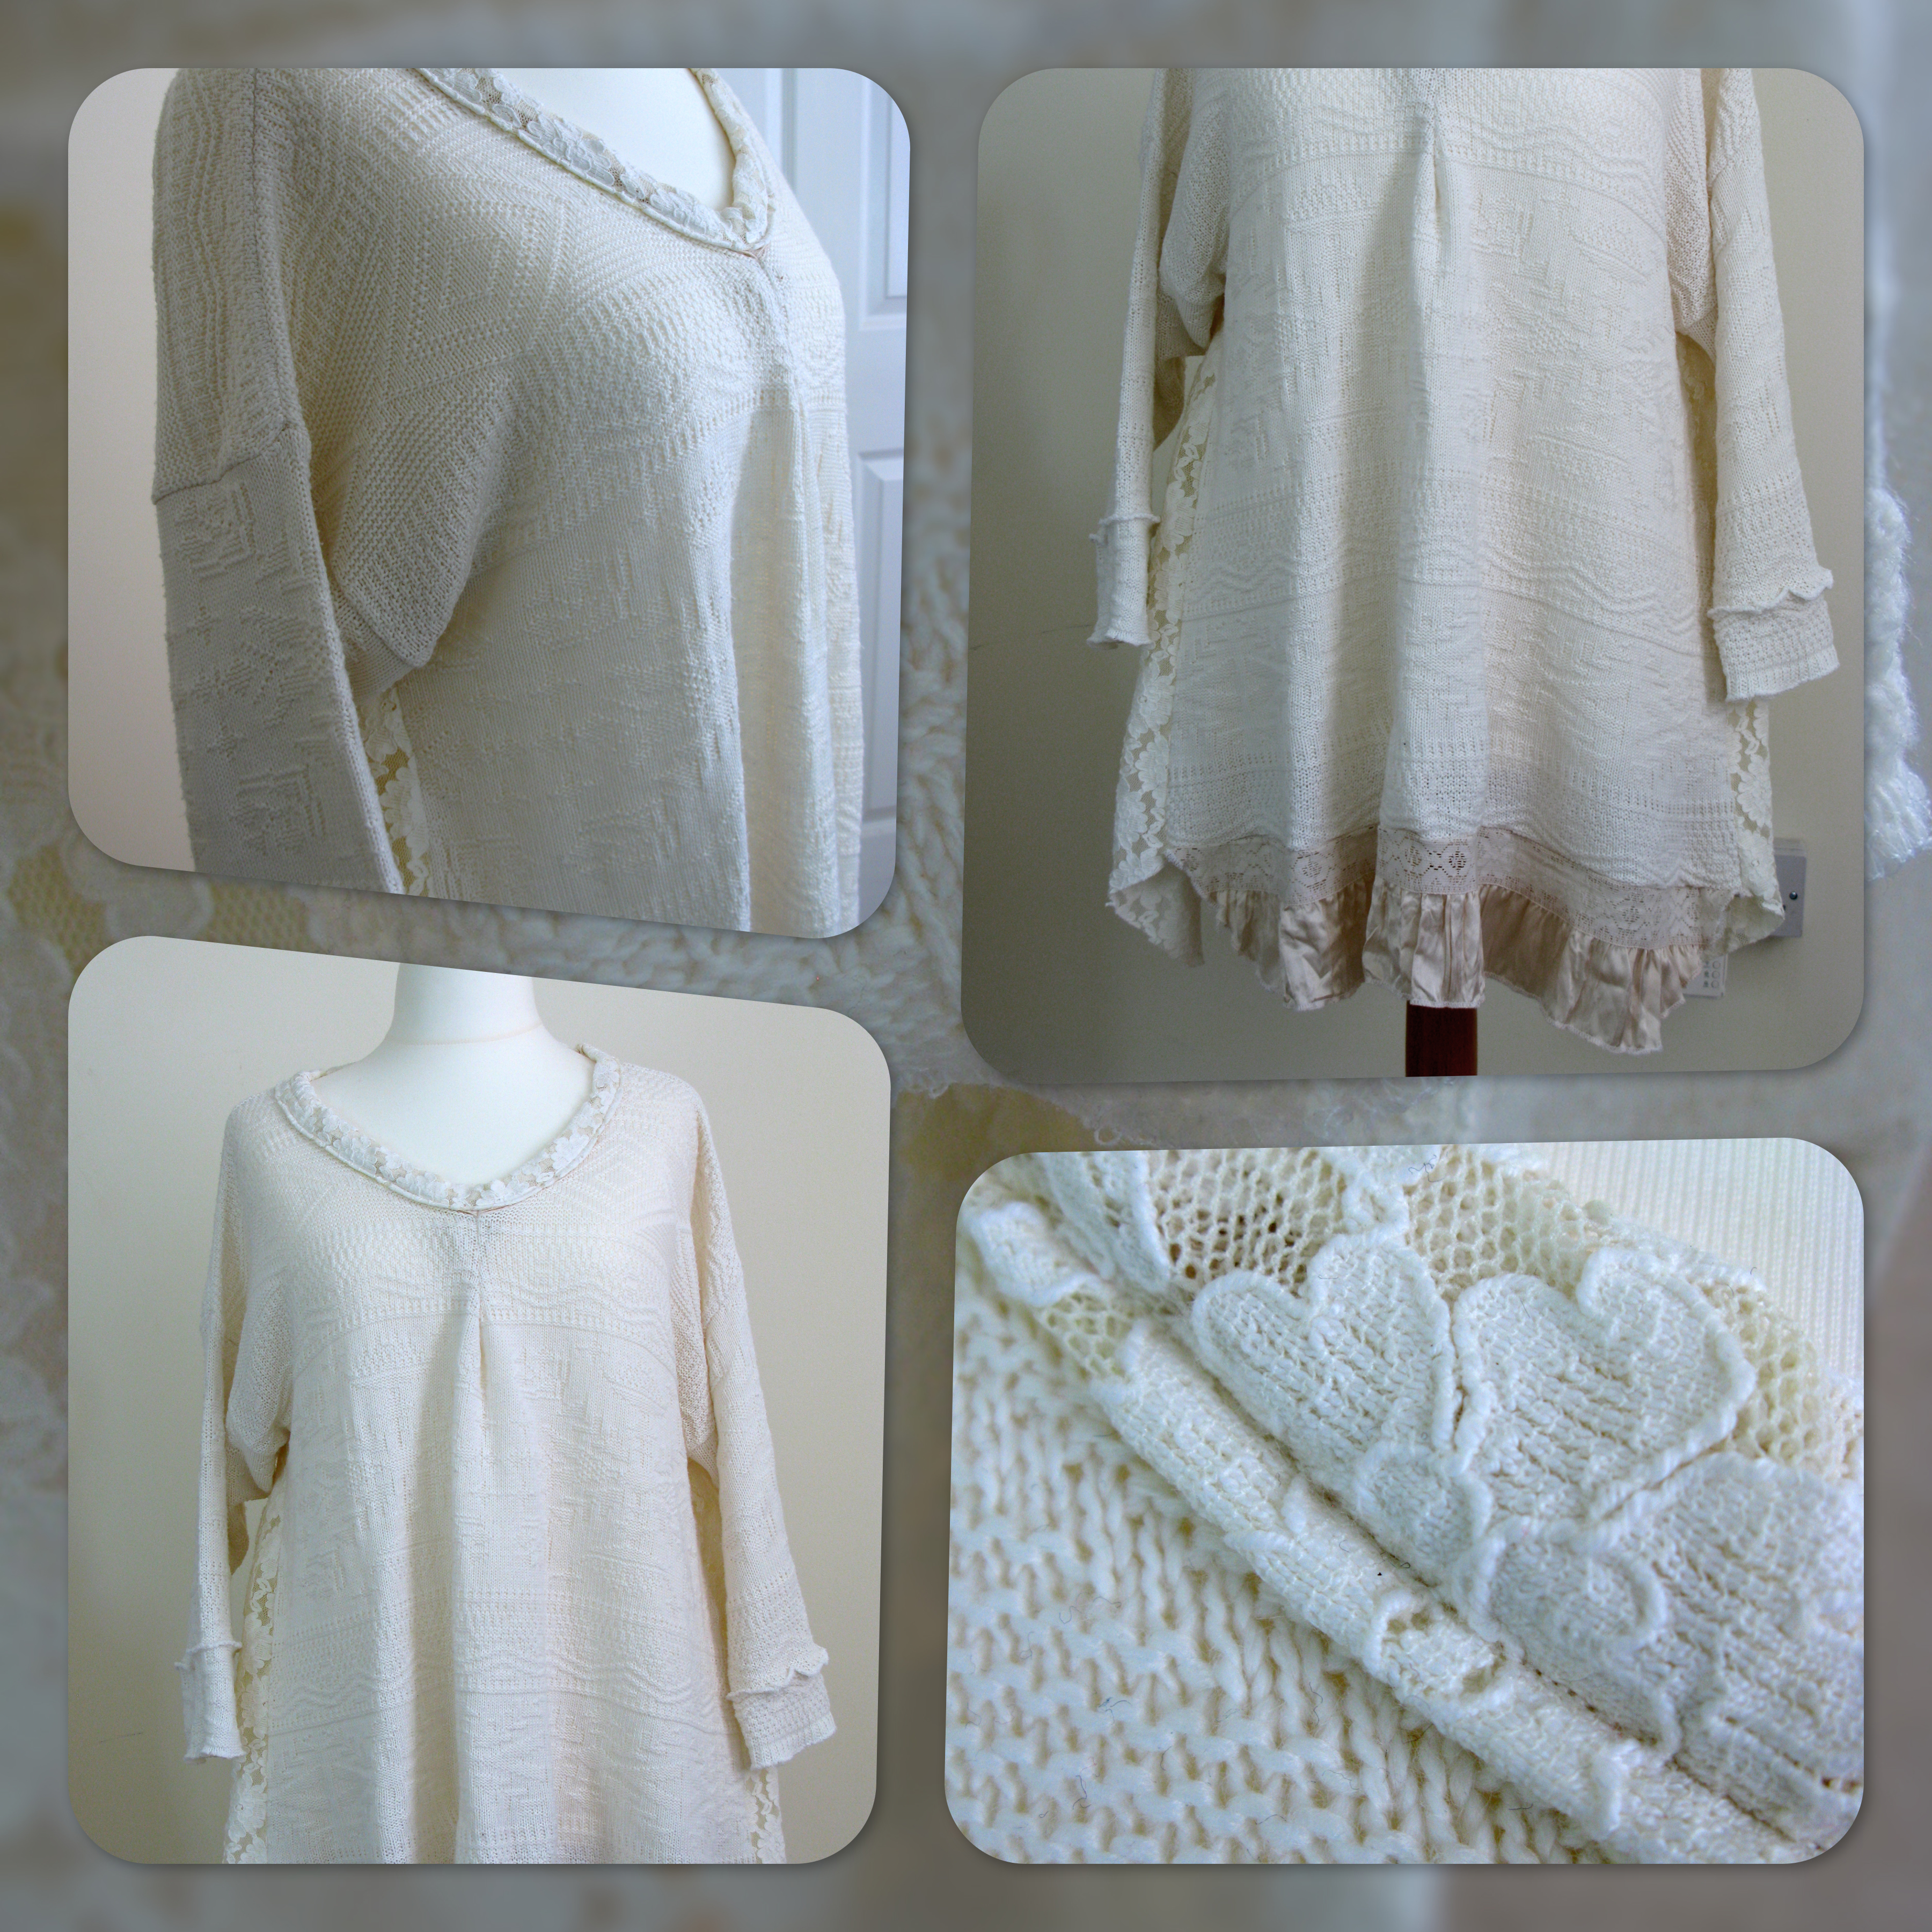
Again I forgot to photograph the ‘before’ but this was a standard, crew neck sweater, another charity shop purchase cost about £3.  I forgot to mention that the first step I take with any of these charity shop purchases is to throw them in the washing machine.   If they don’t survive, well shrug….. but they do need to be clean!

I cut out the crew neck, made a small pleat in the centre front and covered the raw edges of the new neckline with a strip of lace from an old skirt.

I chopped off the sleeves that were VERY long, then reattached part of them to form a faux cuff.

I opened up the side seams, chopped off the sleeves from a cream lace blouse and cut them into long triangles.  I sewed the lace triangles into the side seams.

I cut the ribbing off the bottom and attached the lace and satin panel from the skirt.  Et voila a new bohemian style top with a bit of swing.  I still think there’s something missing from this one.  Tempted to make a fabric flower to sit on the neckline at the top of the pleat.

Edit: here’s the finishing touch.

flower
creamtunic_collage

2 become….

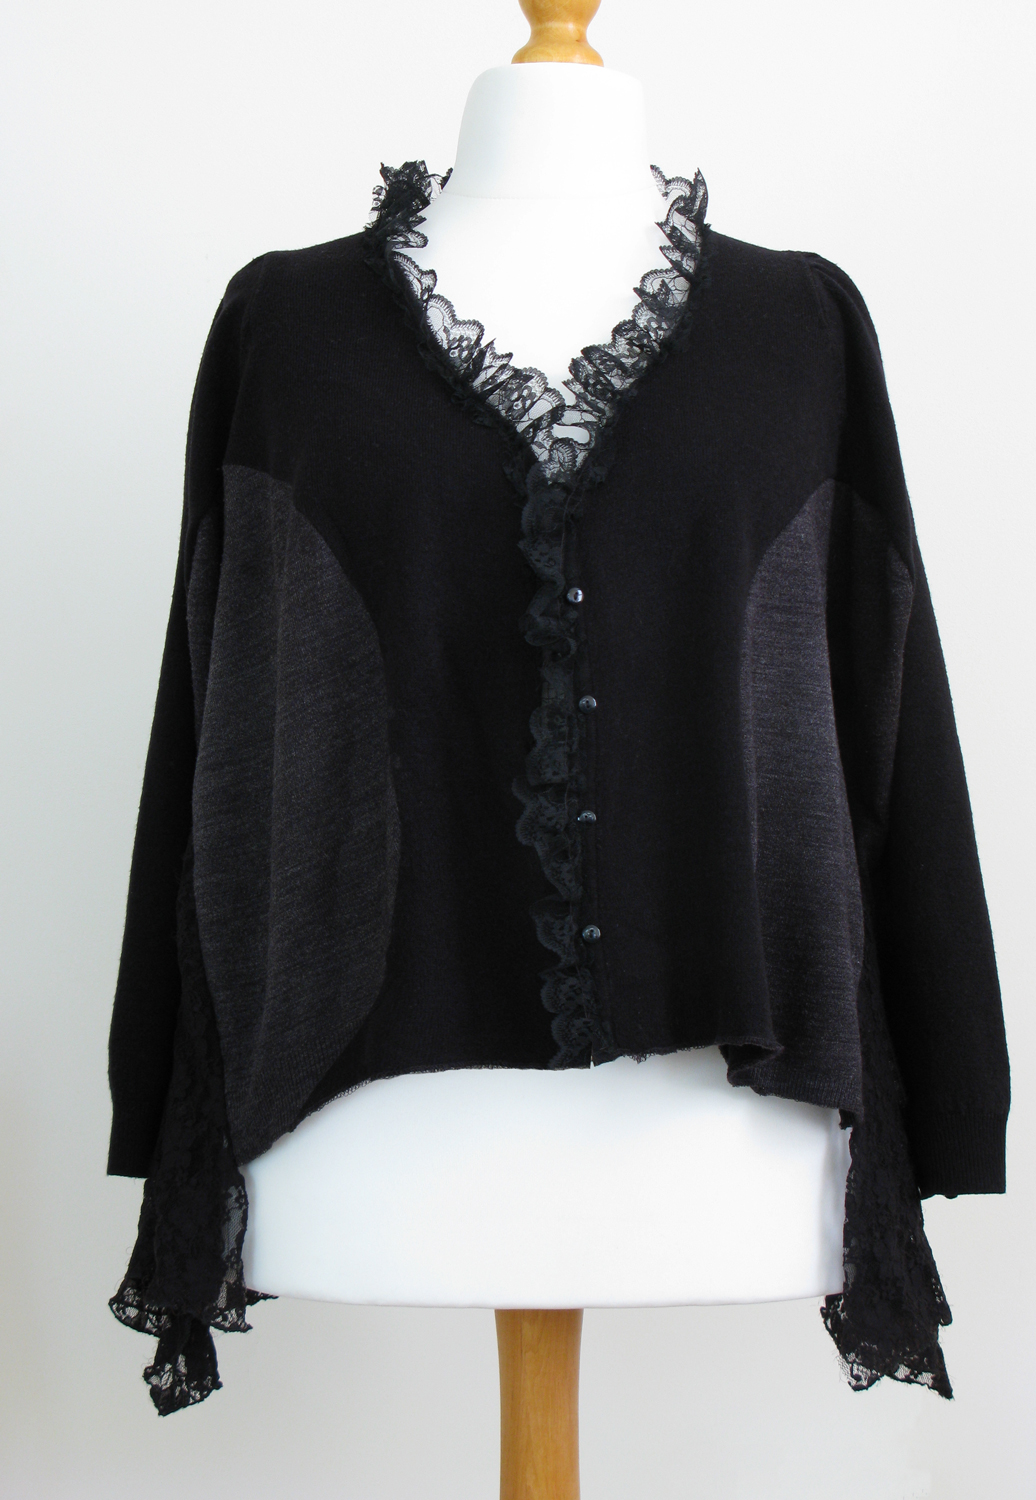
one.  No, nothing to do with romance – more about splicing a couple of old cardigans into something wearable.  I forgot to take the ‘before’ pics but imagine two plain small cardigans, bog-standard, button up to the neck, one black, one grey, picked up at a local charity shop for 99p each.   These were very small, so I cut halfway up along the sleeve lengthwise and then, without stopping for breath, cut a curve across the front and back.  I did this to both cardigans with the curve of the black cardigan being slightly smaller than the grey.  I sewed them together along the sleeve and curves, slashed the side seams and added a generous triangle of lace, cut a V neck and trimmed with lace.   The side seam lace came from another charity shop top – cost £1, so total was just under £3.

black_grey_cardigan

Upcycling – Take 2

I wasn’t happy with hanging up clothes to photograph them, this dress/tunic looked weird and stretchy so I bought a dummy.  It’s not a fancy pants adjustable dressmaker’s dummy, just a polystyrene display model but it does the job for photos and I can stick pins in it.  Result!

dummy1

Upcycling

I’m not sure why upcycling clothes has only just appeared on my horizon.  I have a wardrobe full of clothes that don’t get worn for one reason or another, stacks of fabric and trimmings and I live within a five minutes walk of about a dozen charity shops.  So belated though it is, this week I took a few tentative steps towards reconstructed fashion and this was my first attempt.

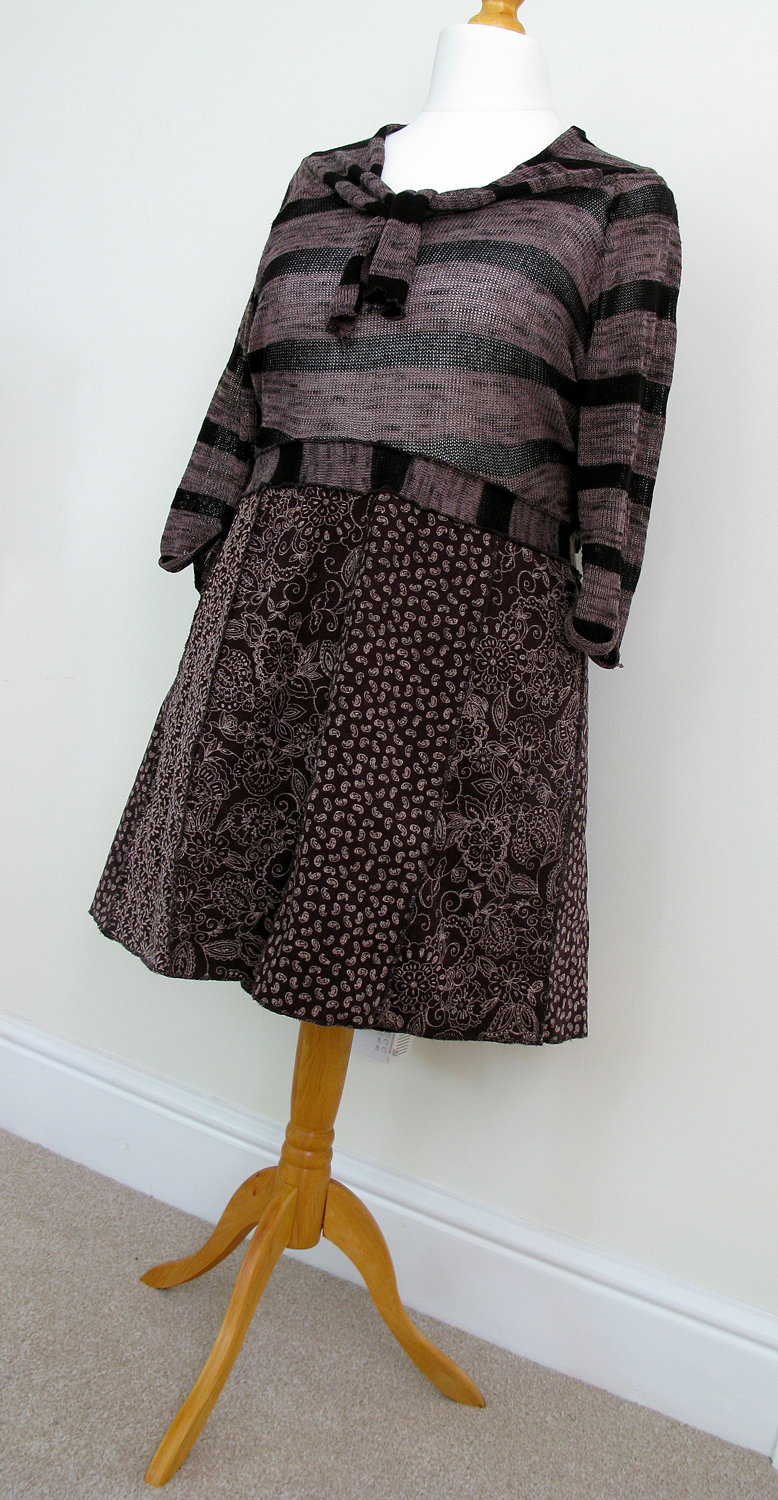
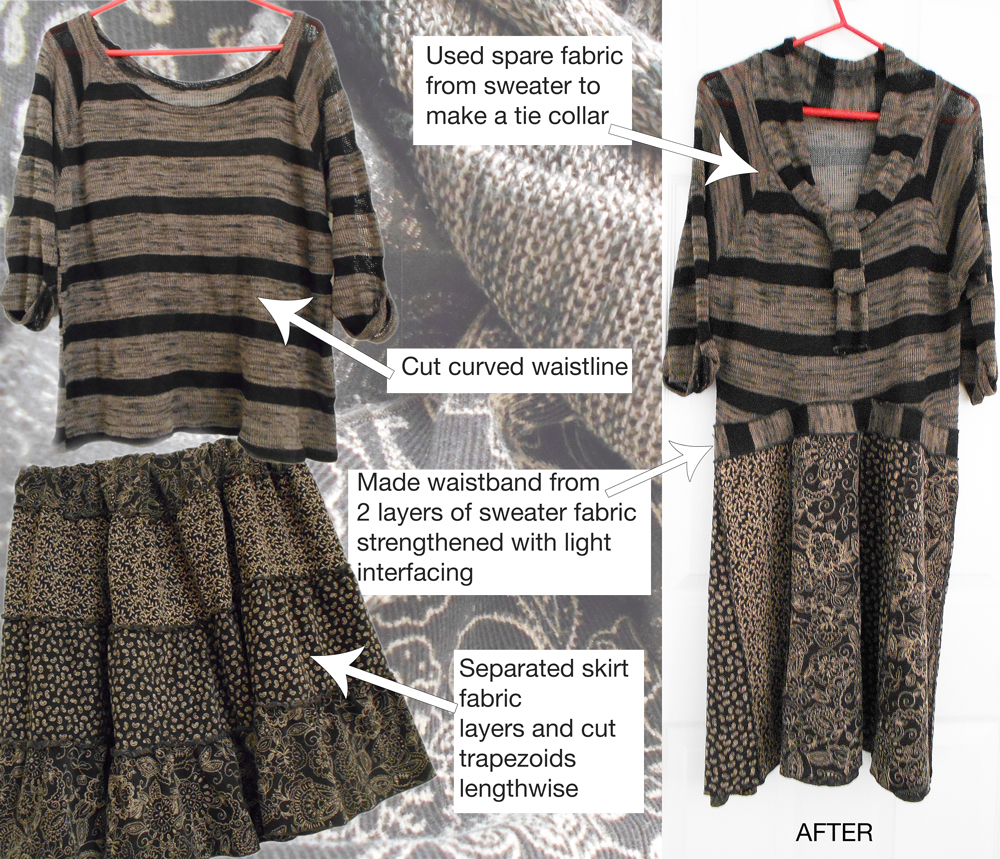
I bought the lightweight jumper and fine corduroy skirt from a charity shop, chopped them up and sewed them together again.  What fun!  It probably wasn’t the best idea to use a knitted fabric to support even lightweight corduroy.  You may be able to see from the photo that it stretches horribly when hung up.  However, it’s fine when I’m wearing it because I don’t have a straight up and down shape (!) So thanks in no small part to my hips (never thought I’d say that!) it fits pretty well as a knee length tunic to wear over leggings.  I’m generally pleased with the end result – I’m already eyeing the contents of my wardrobe for the next victims.

upcycling01

Room box fail!

This was a real fad, by which I mean something I’ve only ever tried once, didn’t even complete and was eventually thrown away.  An epic craft fail.

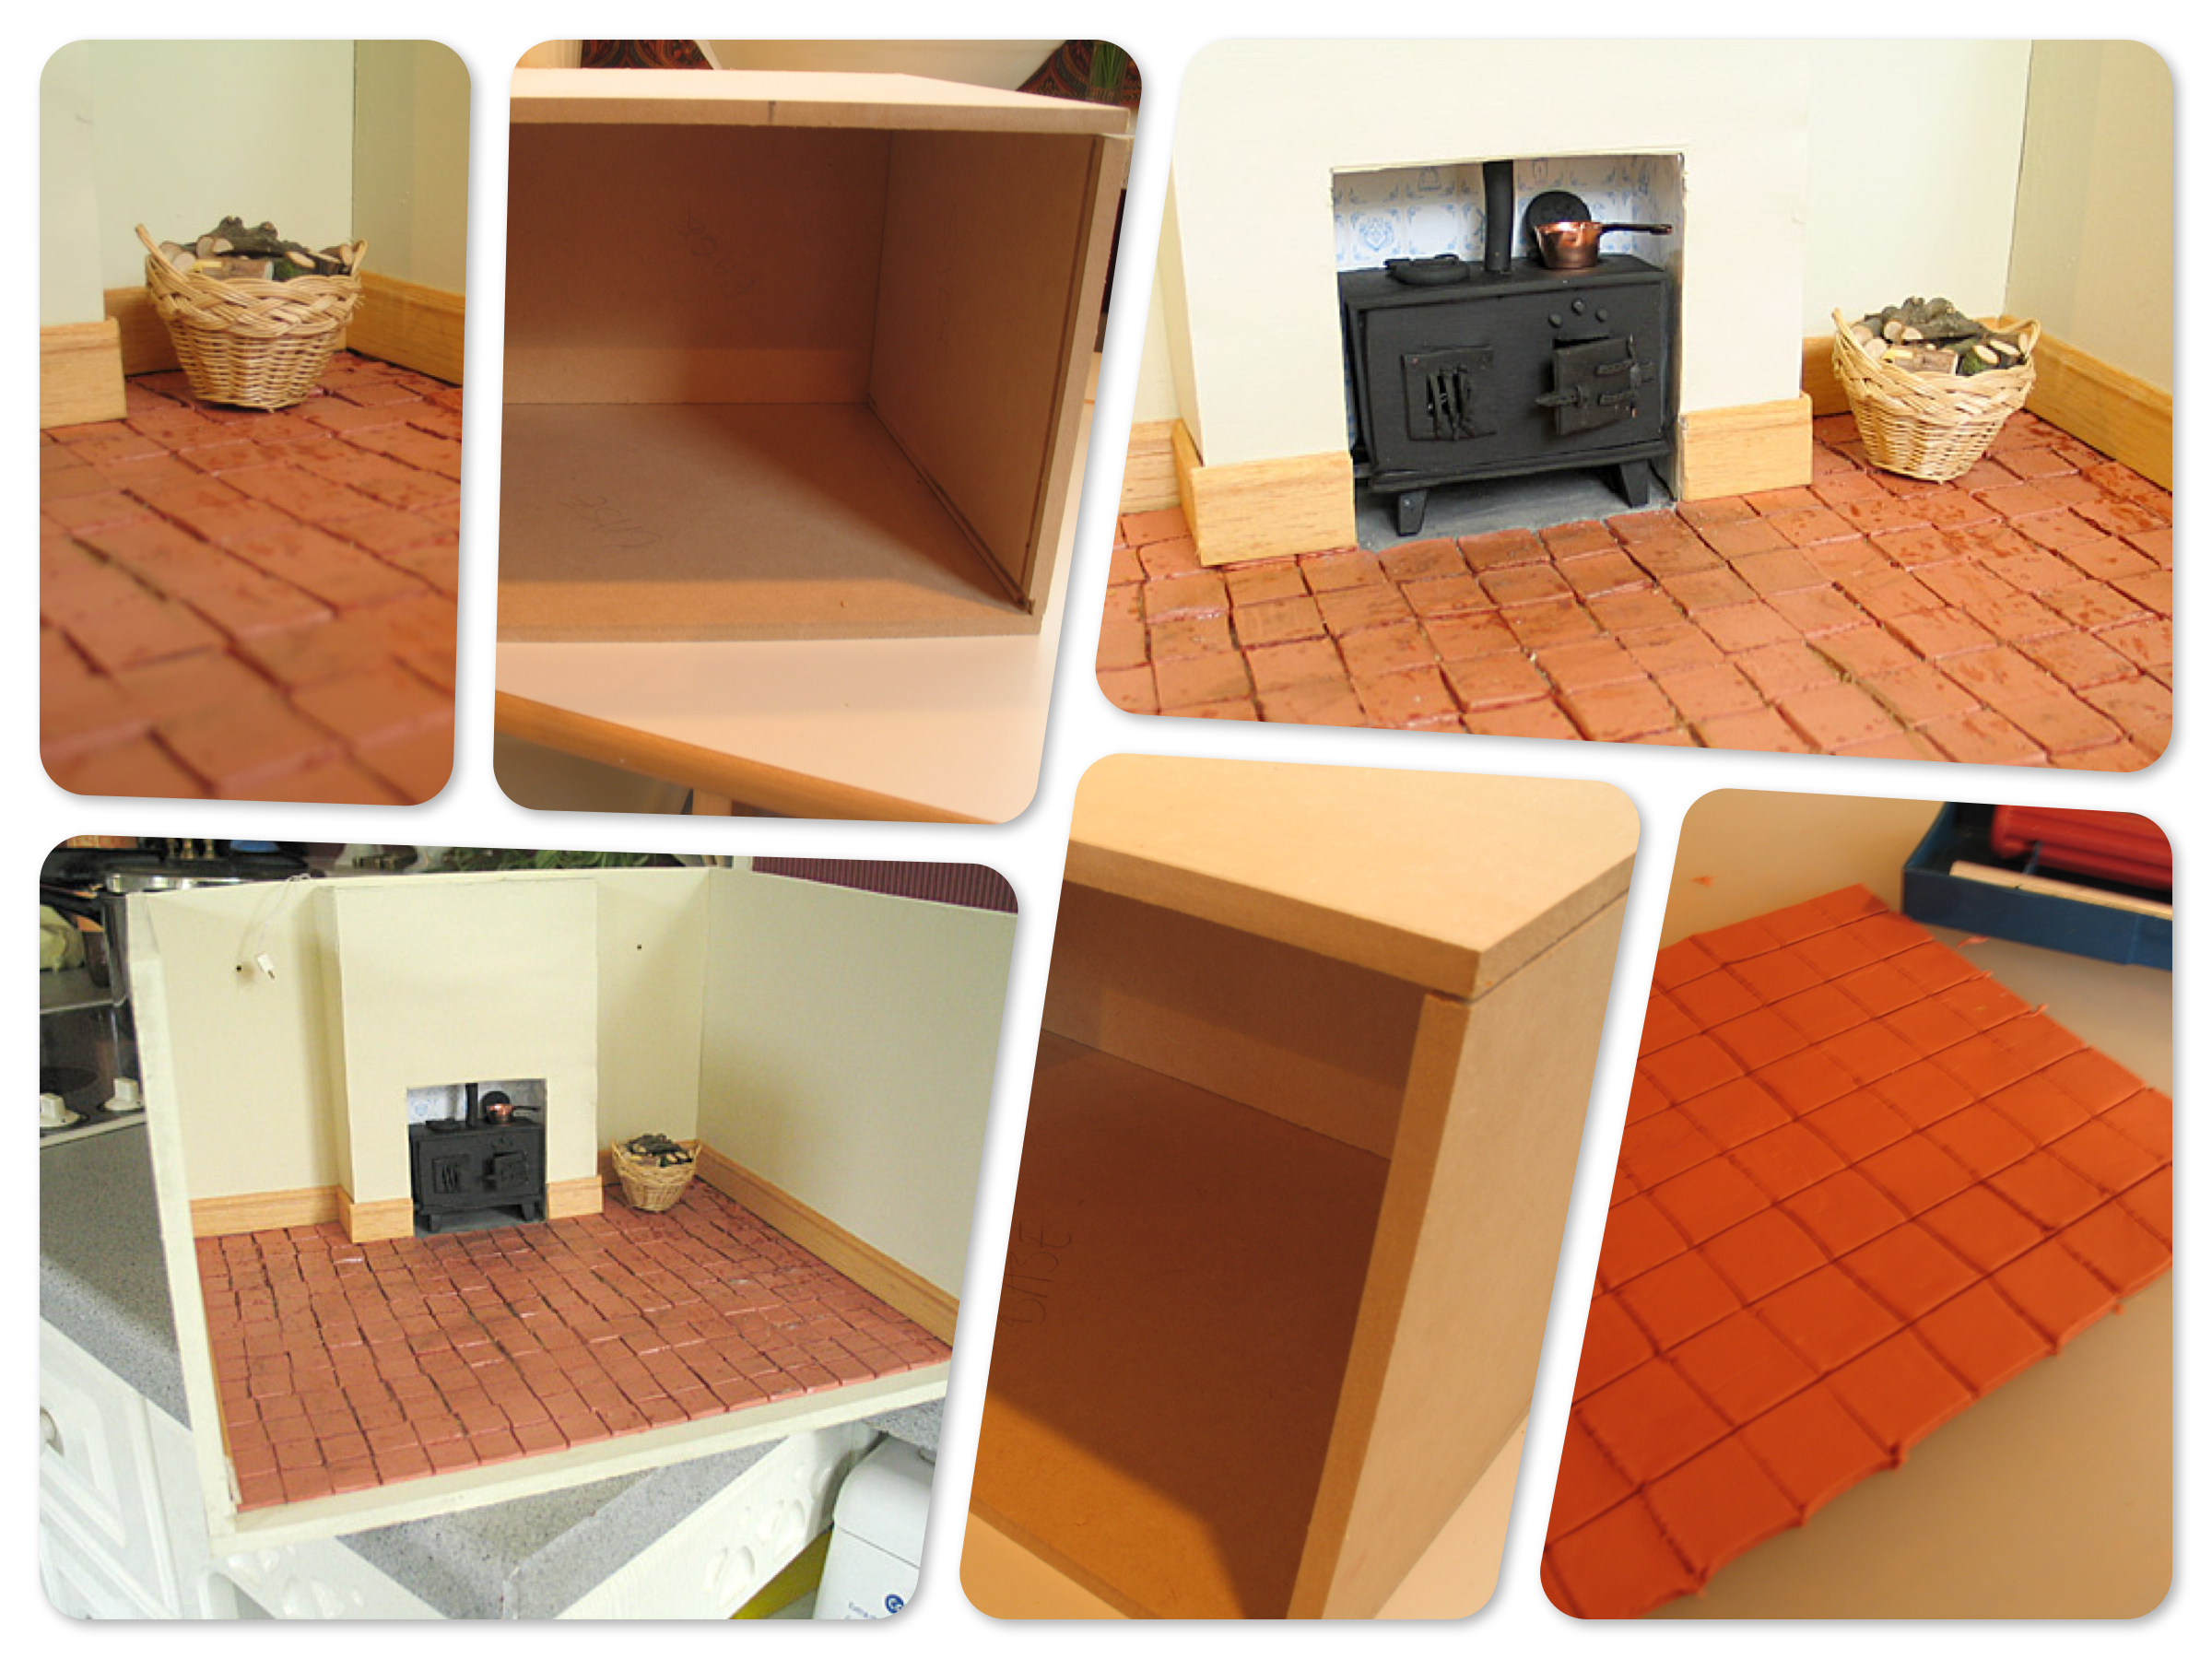
roomboxI had a thing for miniatures and wanted to make some teeny furniture but felt that it should be in context.  A doll’s house was too big and too much of a commitment so I went for a room box.  I bought a router so I could do the woodwork involved in making the box itself.  That was the first problem, I hated using it.  So noisy, messy and had to be done outside. Ugh.  But I persevered, making the skirting board out of balsa and the range and floor tiles out of modelling clay.  I even installed wiring for lighting the room and creating a glowing fire in the range.  At this point I’m not sure what happened but I left it and never went back.  I kept it for several years thinking that at some point I’d finish it (as you do) but eventually it was jettisoned.

Not a total failure though because I did learn that woodworking that involves a router is probably not for me!


Paper village

I love this clever paper village from Asbee Design.  I made a slew of them and they looked cute at Christmas on the black mantelpiece lit with LED tea lights.  I didn’t put them away with the rest of the decorations.  Paper villages are not just for Christmas!

Edit: I hadn’t seen the tutorial before I made mine so didn’t use wax paper over the windows which makes a lot of sense.  Next time!

papervillage


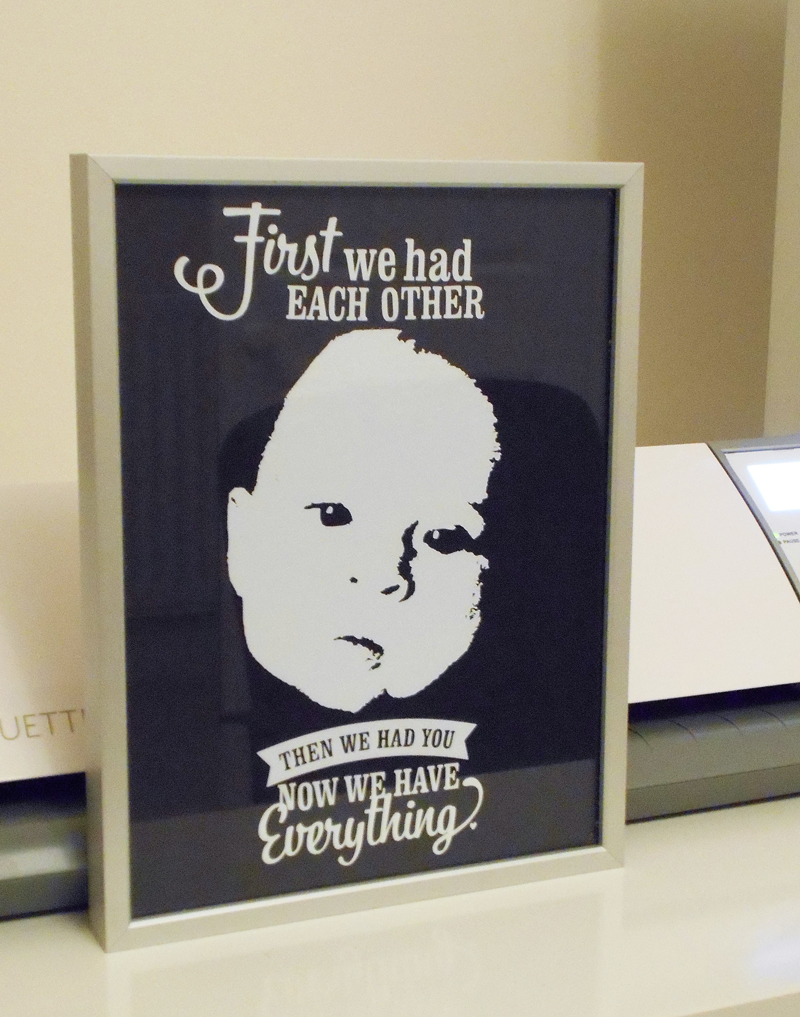
First we had each other

firstwehadeachother

This was my first attempt at using vinyl with my Silhouette Cameo.  I wanted to make something a little different for my stepson and daughter-in-law’s anniversary, the first with a new baby.

The typography ‘first we had each other’ had caught my eye on the Silhouette online store (designed by Lori Whitlock).  After much trial and error I found a suitable photo of my gorgeous granddaughter that would look good as just a white image.

In Photoshop I converted the image to black and white.  I then made an adjustment layer using the threshold setting and used the slider until the photo was recognisable and not too broken up at the edges.  I cut it out thinking that this would just be a test and further tweaking would be needed but to my surprise when I tried it on black card it looked great.

This effect should also be possible to achieve using the online photo editing site http://pixlr.com/editor/.  Upload a photo, convert to black and white and in the Adjustment menu choose Threshold and play around with the levels.


Making a leather journal

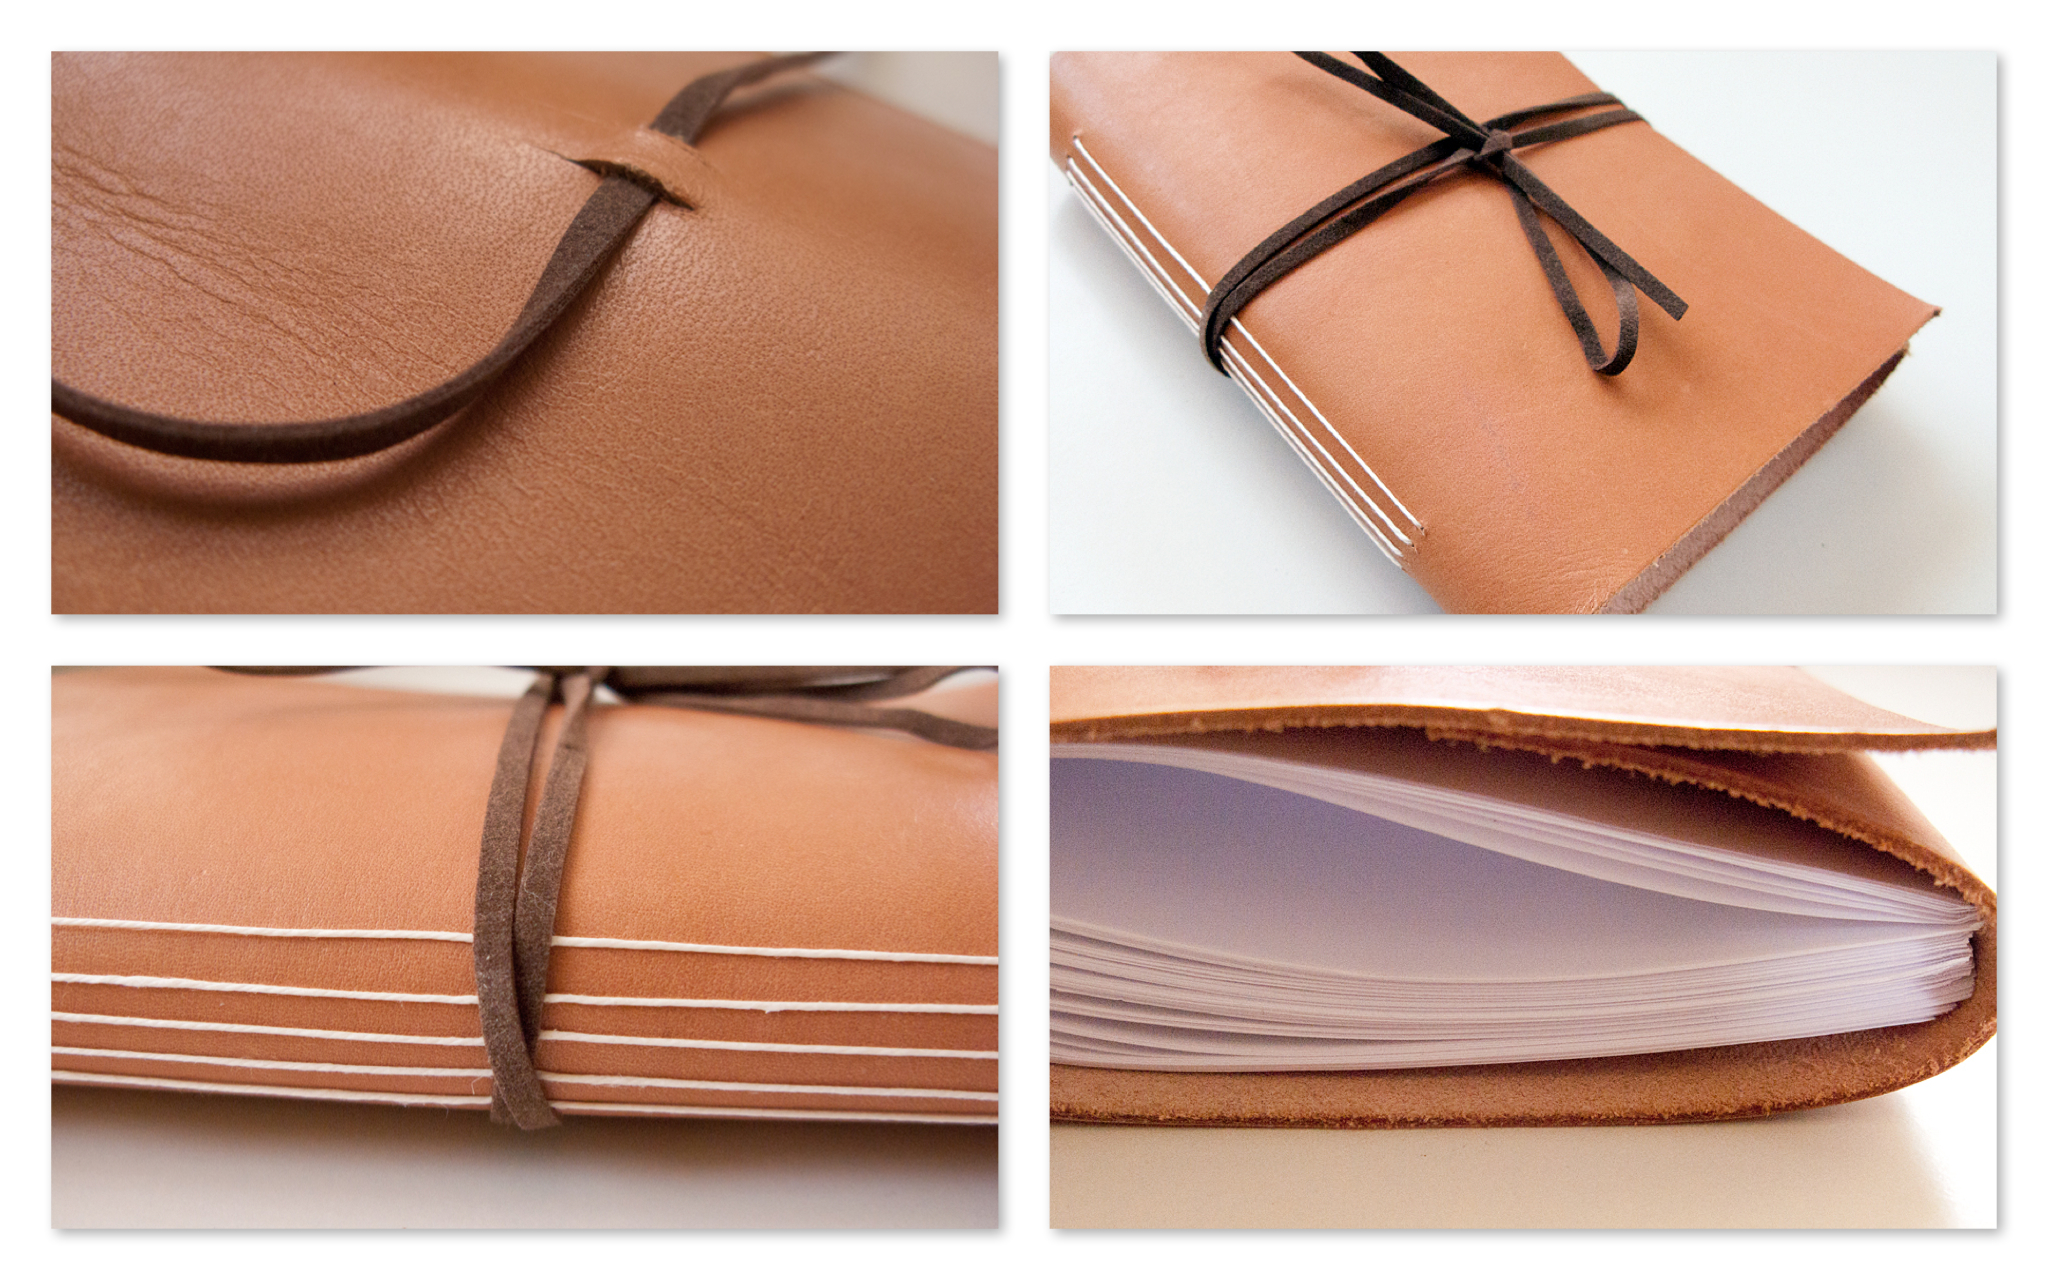
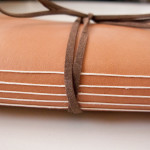
leatherjournal_collageI had a small stash of leather just waiting for a project when I saw this tutorial on Kirstie’s Handmade Britain.  I’ve made several as presents and I love the handmade look of them.  The video and written method are a bit skimpy on details, for example, the lining paper instructions are confusing  (I didn’t line any of mine).  I was also a little daunted at having to draw lines 4mm apart accurately.  However, a little interweb research came up with a site to print your own configurable graph paper – this is for a sheet with lines spaced at 4mm.   No fiddly measuring!!